3D & Design — March 5, 2026 — Edu AI Team
If you're searching for a complete blender for beginners: getting started guide, you're in the right place. Blender is one of the most powerful and widely used 3D creation tools in the world—and it’s completely free and open-source. Whether you want to create 3D models, animations, game assets, or visual effects, Blender gives you professional-grade tools from day one.
This guide will walk you step by step through installation, understanding the interface, essential tools, your first project, and how to continue improving. By the end, you’ll have a solid foundation and a clear roadmap for mastering Blender.
Blender is a full 3D creation suite used for:
Beginners often assume professional 3D software is too complex to start with. While Blender has a learning curve, it’s beginner-friendly when approached correctly. With structured guidance and consistent practice, you can start creating impressive projects within weeks.
If you prefer guided learning, explore our courses to follow structured, AI-supported lessons designed for beginners.
Start by downloading Blender from the official website (blender.org). Choose the version compatible with your operating system (Windows, macOS, or Linux). Installation is straightforward—just follow the setup prompts.
While Blender can run on modest systems, better hardware significantly improves rendering speed and viewport performance.
The Blender interface may look overwhelming at first. Don’t worry—every professional once felt the same way.
Blender uses workspaces such as Layout, Modeling, Sculpting, UV Editing, Shading, and Animation. As a beginner, focus mainly on Layout and Modeling.
Learning keyboard shortcuts early will dramatically speed up your workflow.
Practice these repeatedly. Muscle memory is key to becoming comfortable in Blender.
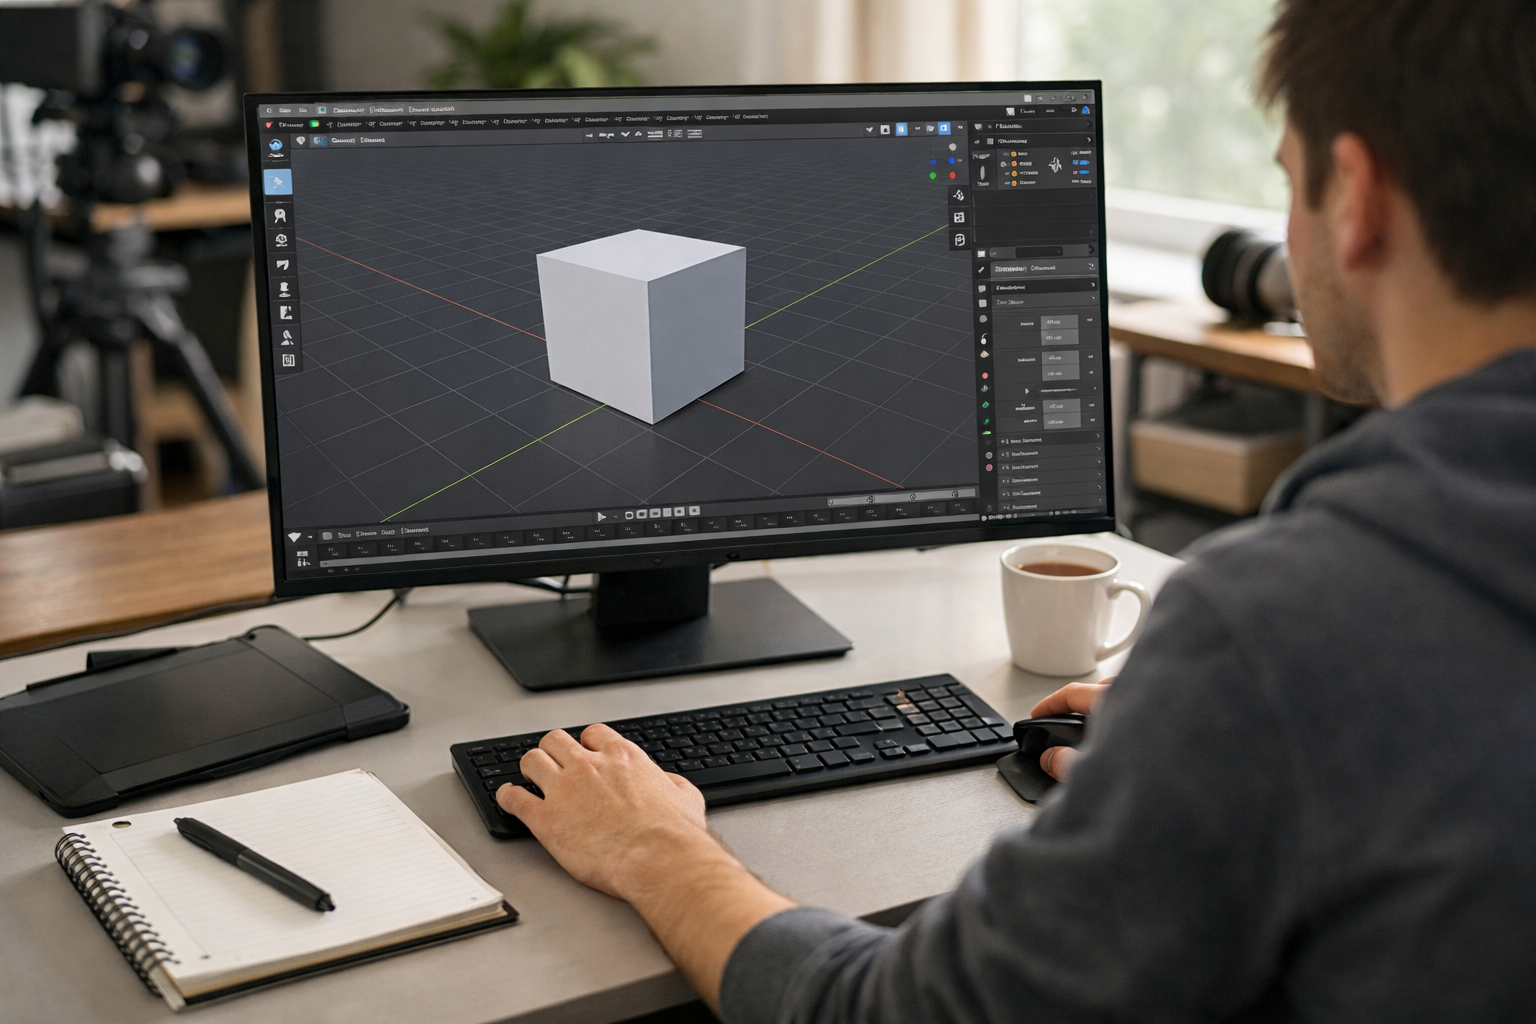
The best way to learn Blender is by doing. Let’s create a simple 3D cup.
Select the cube and press X to delete.
Press Shift + A → Mesh → Cylinder.
Right-click the object and select Shade Smooth.
Congratulations—you’ve created your first 3D object!
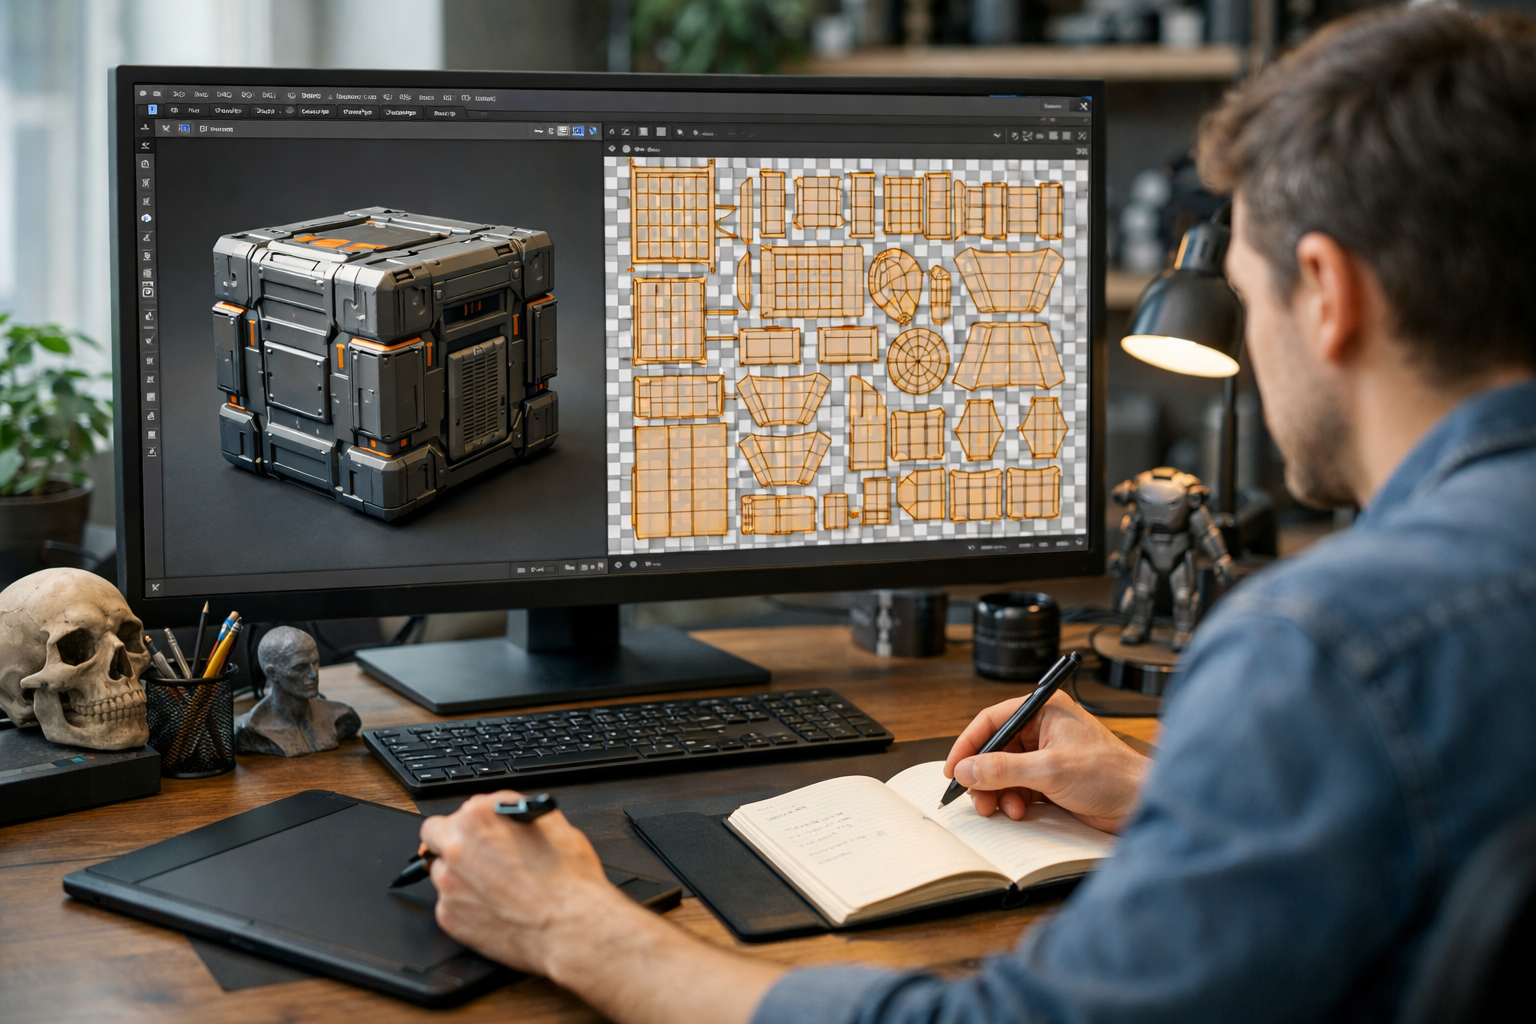
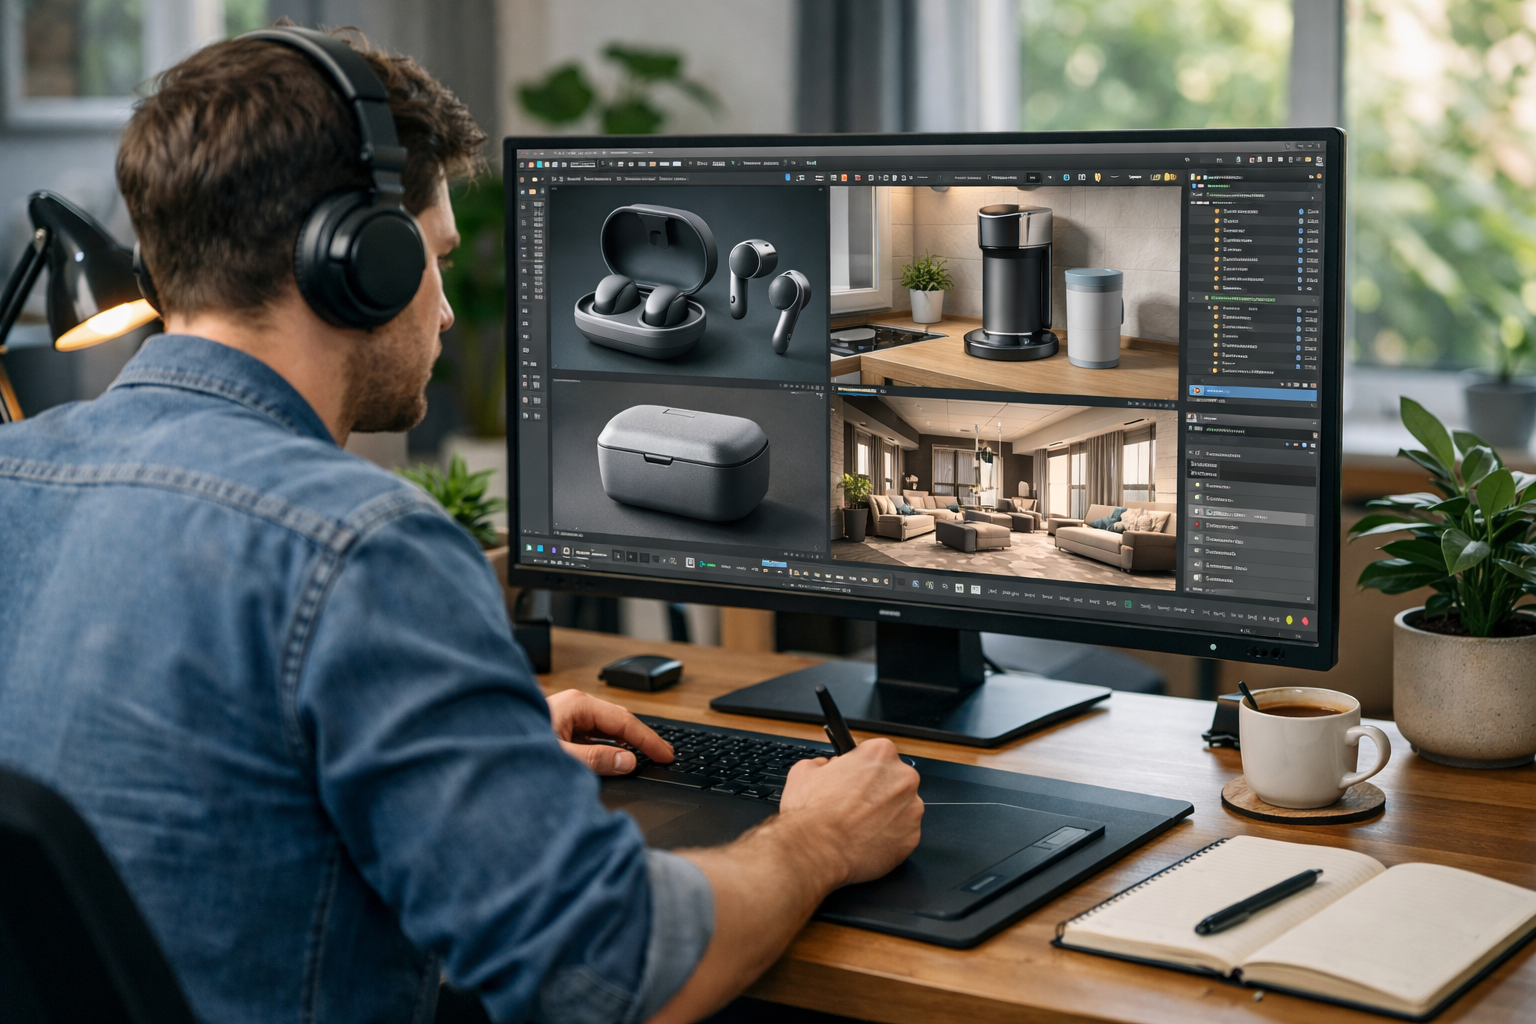
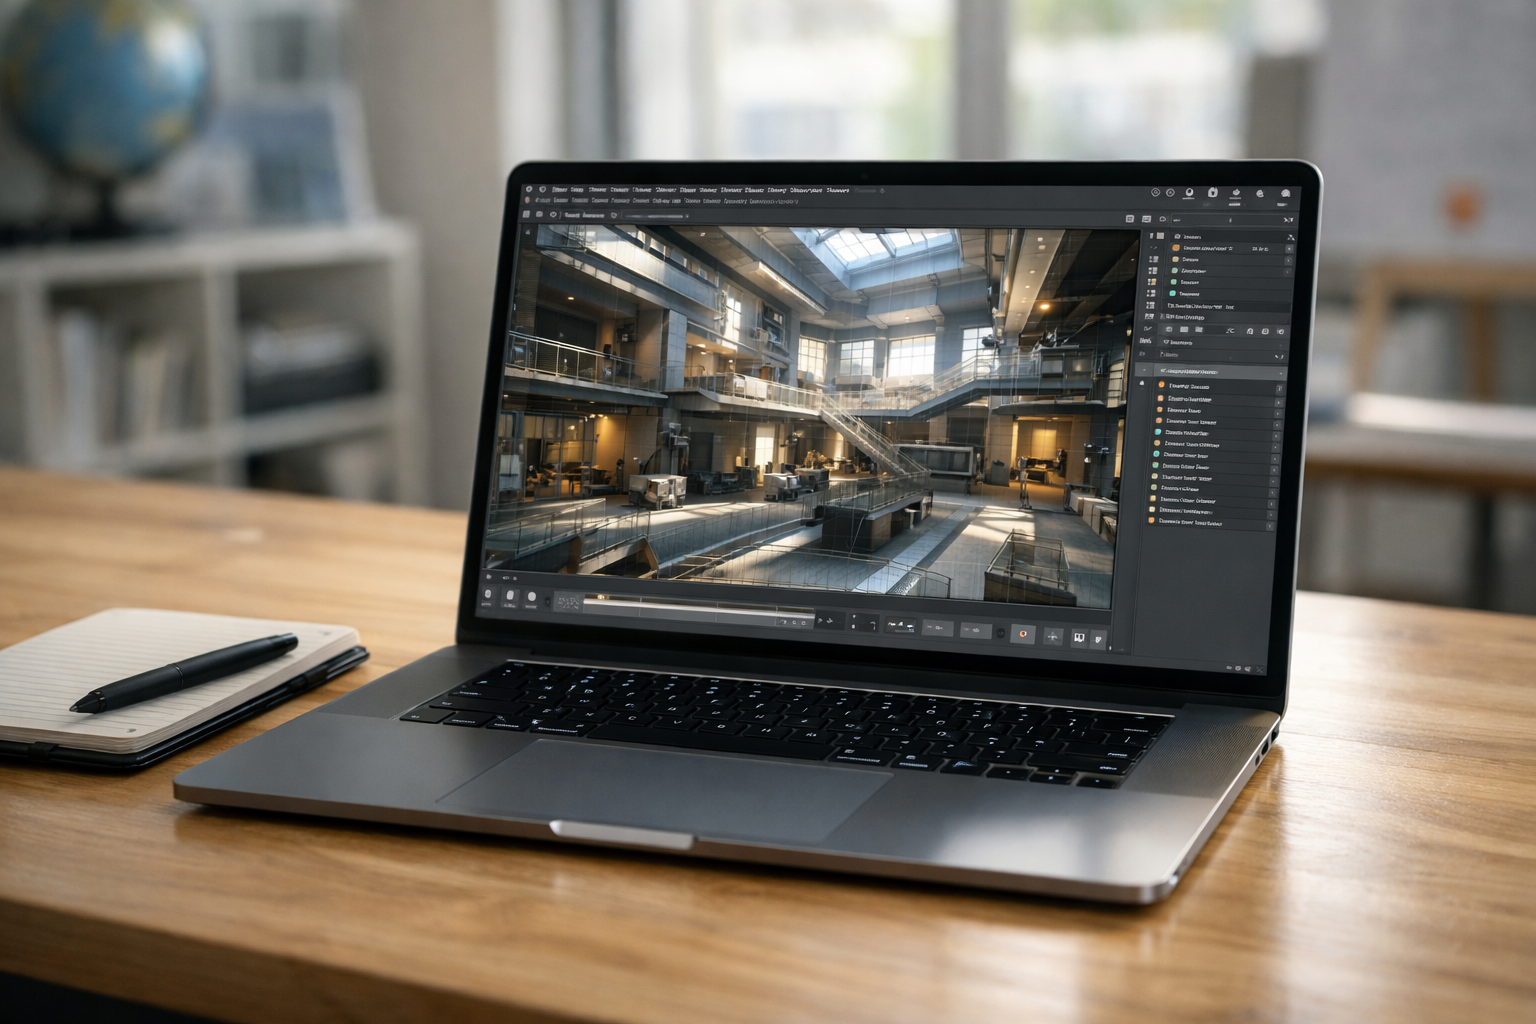
Modeling is only part of the process. Lighting and materials bring your object to life.
Beginners should start with Eevee for speed and move to Cycles when focusing on realism.
Always save your work regularly:
To render an image:
To export 3D models for games or other software:
Structured practice prevents frustration. If you want step-by-step exercises and real projects, consider enrolling in our courses designed specifically for beginners.
This depends on your goals:
Consistency matters more than intensity. Practicing 30–60 minutes daily is more effective than occasional long sessions.
Follow this structured path:
At Edu AI, we combine AI-powered feedback with structured lessons to accelerate your learning. You can register free and start building real 3D skills today.
3D skills are in high demand across industries:
Blender’s growing adoption in professional studios makes it a future-proof skill. Combined with AI tools and procedural workflows, Blender users can now create faster and more efficiently than ever before.
This blender for beginners: getting started guide gives you everything you need to take your first confident steps into 3D design. Start with the fundamentals, practice consistently, and build small projects before aiming for complex scenes.
Remember: every expert 3D artist once struggled with their first cube. The key is persistence and structured learning. If you're ready to go beyond tutorials and build real-world skills, explore our courses and accelerate your journey from beginner to confident 3D creator.
Your 3D journey starts now—open Blender and create something today.
- Learning Evolved.
- Intelligence Amplified.